Custom locations
Create custom locations and map these to floorplans. Custom locations also form the basis for the Reservations functionality.
Use custom locations to map anything other than meeting rooms and people.
Create a custom location
To create a new custom location, navigate to the Custom page.
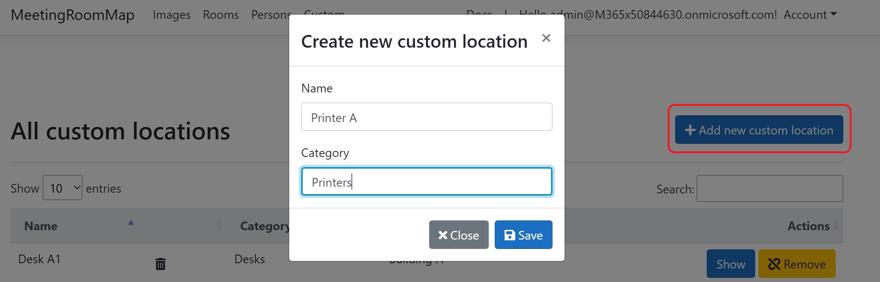
- On the Custom Locations page, click the “+ Add new custom location” - a pop-up displays to enter details of the new custom location
- Give the location a name and a category - the category can be used to filter by in the add-ins and webparts.
- Click save
Reservations add-in rely on custom locations
The Reservations Teams add-in rely on items defined as custom locations. So i.e. to use as a reservation system for desks in a flexible office setup, create the individual desks as custom locations and map these to floorplans.Map a custom location
Once a new custom location has been created, it can be mapped to a floorplan:
- Find the custom location to map in the list (use sorting, paging and search to quickly find the correct location - a newly created location will also appear in red text to help quickly locate it)
- Click “Attach to map” button
- A popup “Select map to attach to” with all available floorplans displays - click the floorplan to map to
- A popup windows with the floorplan is opened - click the location of the custom location to create the mapping
Removing mapping
An existing mapping can be removed by clicking the “Remove” button for a specific location in the list. (NB. requires the role “MeetingRoomEditor” to view the “Remove” button and be allowed to remove).
Delete a custom location
A custom location can be completely removed including the mapping information by clicking the thrashcan icon for a specific location.