Floorplans
Upload new floorplan
To upload a floorplan, go to the Images page available in the top menu. Drag and drop images into the square labeled “Drop files here or click to upload” to upload image files. Alternatively, click the square, which opens a file dialog to select an image to upload.
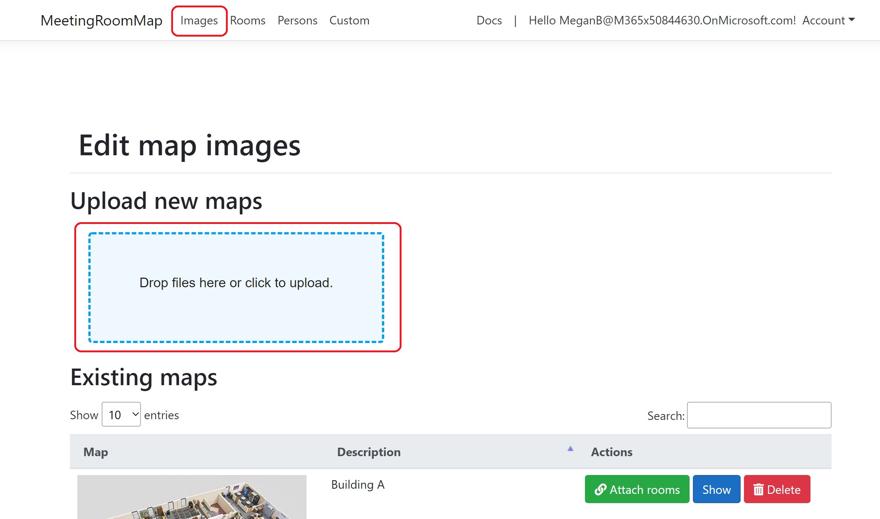
After uploading an image, MeetingRoomMap processes the image by scaling it to different sizes. It might take a few seconds before being completed. Once the image has been processed, it will be added to the list of existing maps below.
File types and sizes
The following image types are valid (based on file-extension name): jpg, png, gif, jpeg.
All these work equally well in MeetingRoomMap. There are some general differences in what each file type best represents (see i.e.: https://www.sitepoint.com/gif-png-jpg-which-one-to-use/ )
MeetingRoomMap will scale the uploaded image to two different sizes:
- Width 310px (used in Outlook Add-in and Teams)
- Width 900px (used when displaying large version)
So make sure that the uploaded image is displayed clear and correctly in both these resolutions. To avoid a pixelated large image, it’s better to upload an image with at least 900px in width.
Height will be adjusted in relation to width and keep aspect ratio, so the image is not stretched. For best display try to upload images that are close to a square form, and not having one side much longer than the other side.
Renaming floorplans
The name of a floorplan will initially be the same as the filename of the uploaded image.
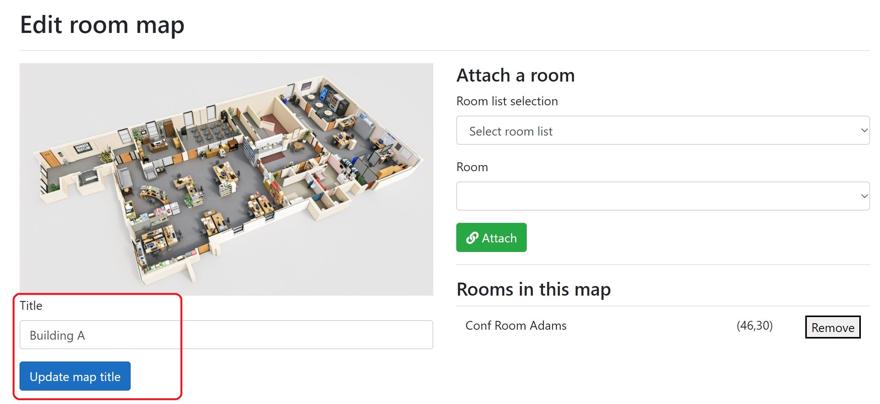
To rename a floorplan, go to the Images page and click the “Attach rooms” button for the floorplan to edit. From within the “Edit room map” page, change the “Title” field and click “Update map title”.
Delete a floorplan
To delete a floorplan, go to the Images page and click the “Delete” button for the floorplan to delete.